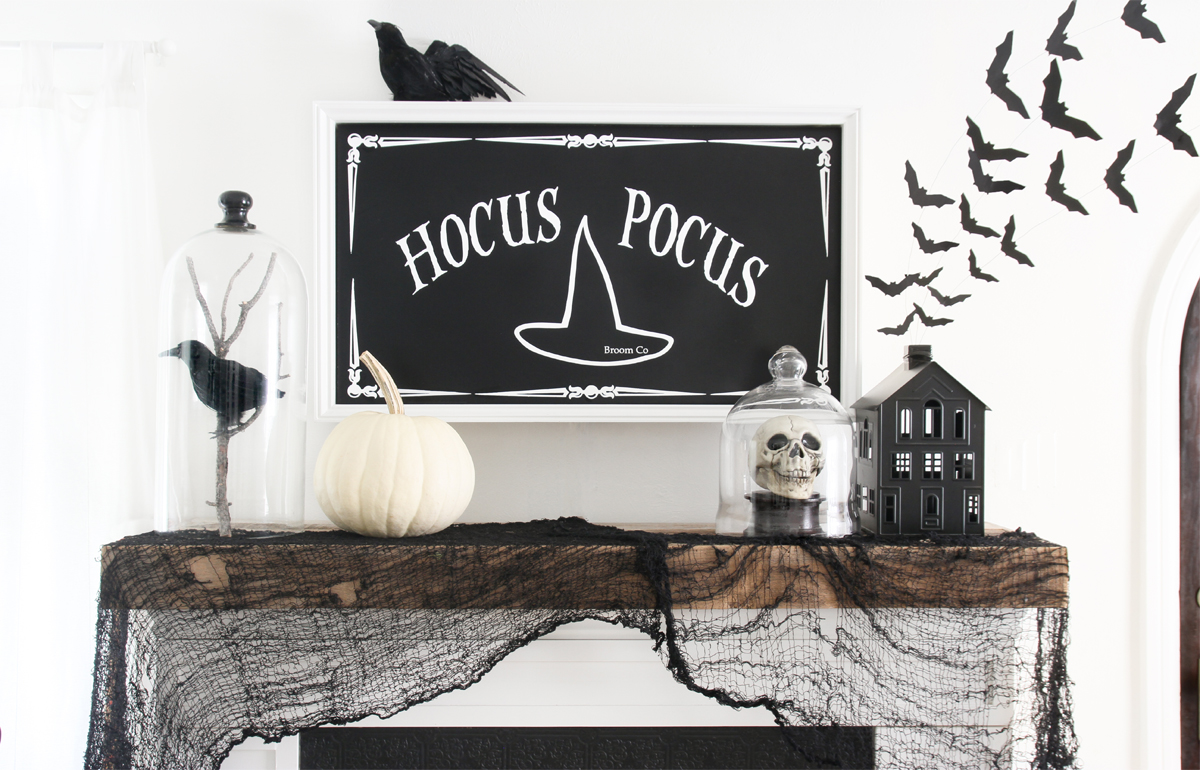
DIY Halloween Sign
Learn how to make a spooky handmade DIY Halloween sign this fall season using a HomeRight paint sprayer to achieve a great finish.
Halloween is going to look a bit different this year with everything that has happened so I thought I would cheer my boys up by decorating the family room. I had a few things on hand already from past years, but I knew I needed to create something new to add to the mix. I decided to make a large sign that would go in the TV frame. I put my new Quick Finish sprayer to work to create this DIY Halloween sign!
I cut the board to size and prepped my painting area. I used my pop-up spray shelter. I love how easy it is to set up and that is has a bottom. No searching for a tarp!
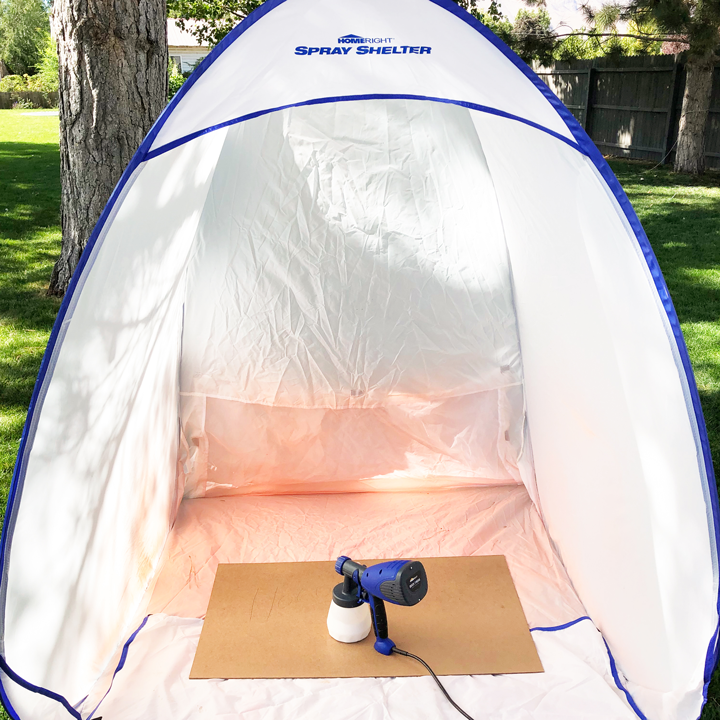
I used the Quick Finish Paint Sprayer sprayer to paint the basecoat. You will need to let this basecoat dry and cure completely before moving on to the next step.
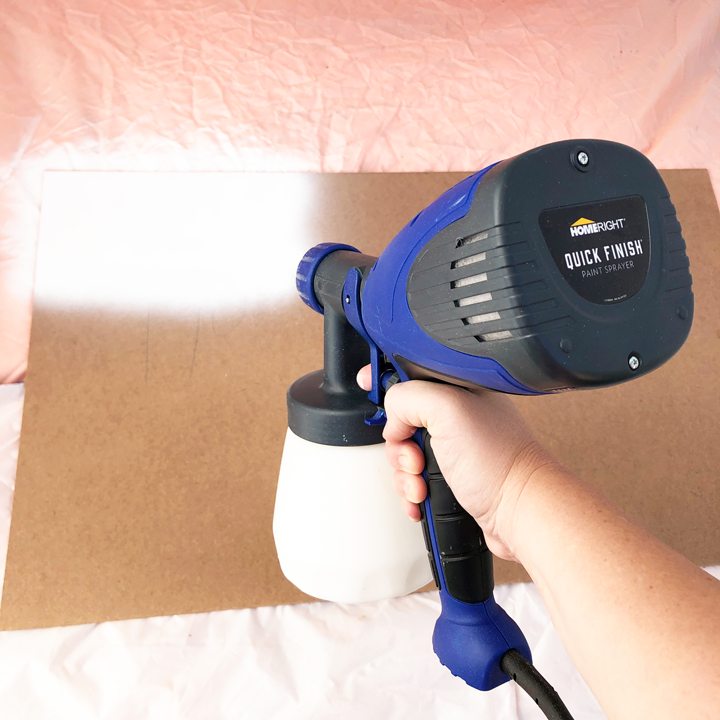
You can either use a store-bought stencil or vinyl. I used my machine to cut out vinyl to do a kind of reverse stencil. If you are using a stencil, tape it on to secure it and use tape to cover anything else you don’t want painted over.

I sprayed the second color over the vinyl. They key to getting crisp lines is to do a thin coat. Enough to cover the basecoat but not too much or peeling off the tape or vinyl with be difficult.
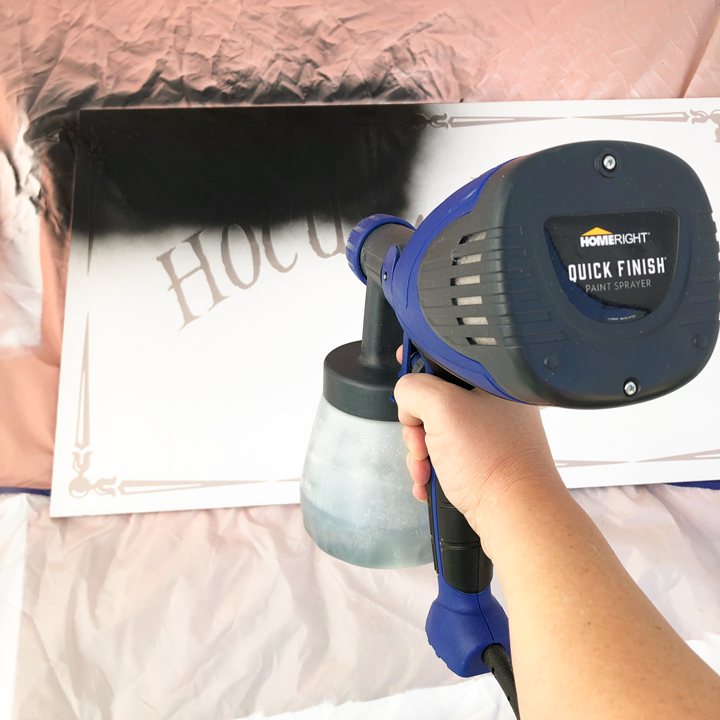
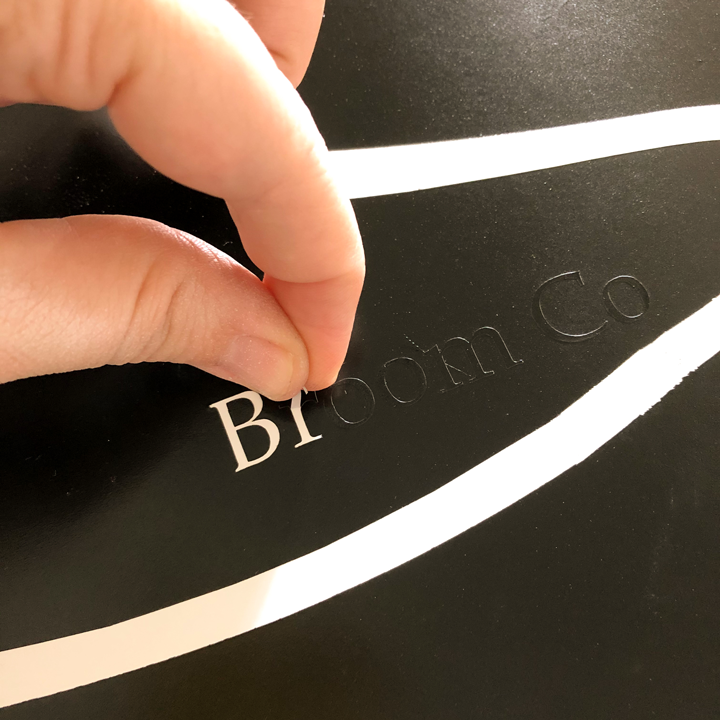
As soon as the paint is no longer tacky, start peeling off the stencil. If there is an area where the paint is thicker and it is starting to peel off the topcoat of paint, use a box cutter to score along the stencil to help release it.
The kids were excited to help decorate the mantel and around the room. It will make having a night in on Halloween a bit more fun! This sponsored post was created by Not Just a Housewife. Head to the blog for the full post and details.

Download project steps & shopping list
We'll never share your email with anyone else.