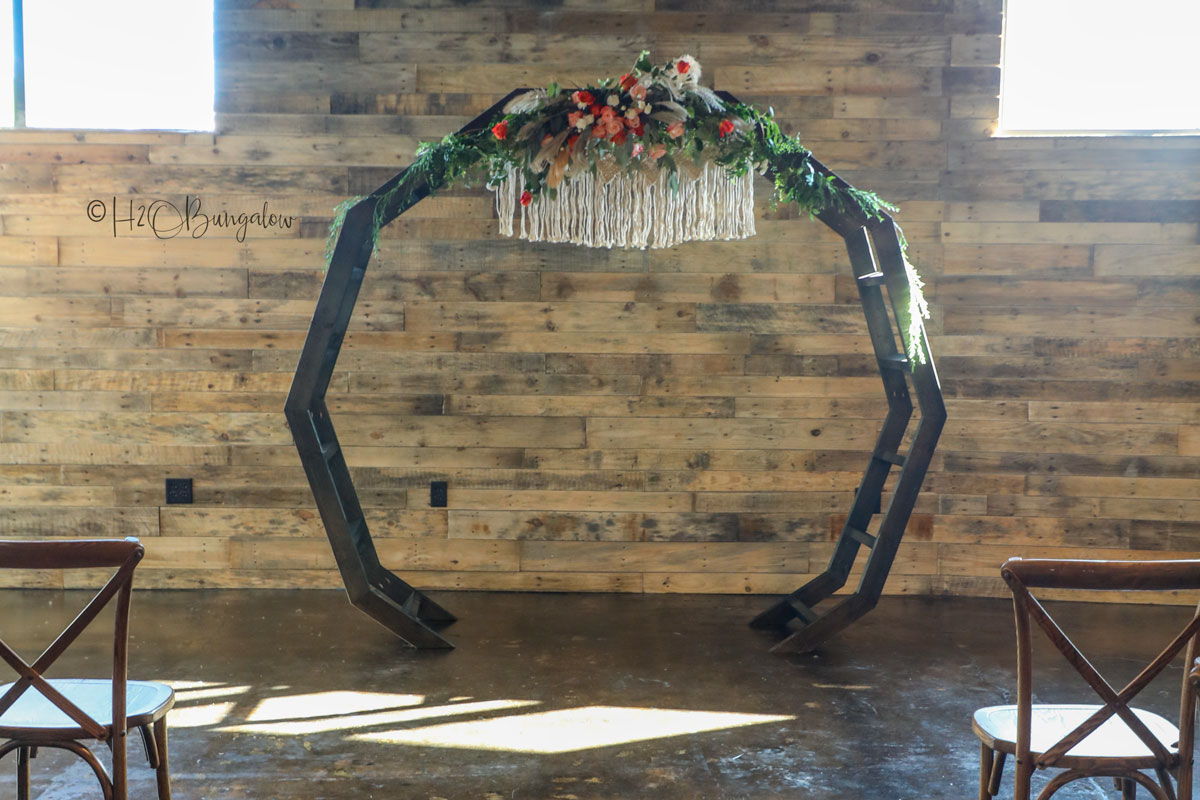
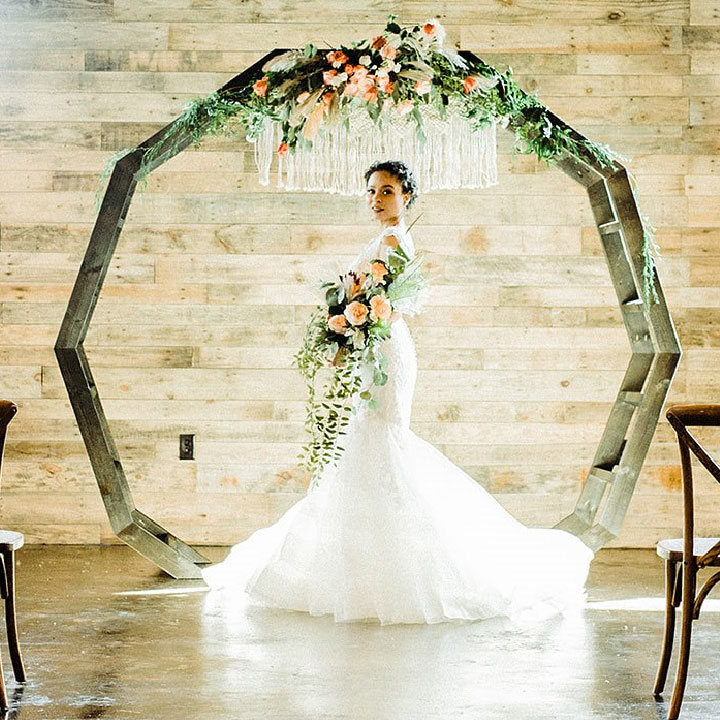
DIY Moongate Wedding Arch
Save money this wedding season and create a handmade, DIY wedding arch for your big day! Get the step by step details on how to build this moongate.
Hi I’m Wendi from H2OBungalow.com. I’m so excited to share how to make a DIY Moongate wedding arch today! Moongates have become very popular as wedding arches and can also be used as a garden trellis later. This moon arch can easily be made for under $50! What a great way to make a gorgeous wedding.
You’ll also find a detailed DIY video to share how we made ours. You can find the free building plans on my website at H2OBungalow.com.
Supplies needed to make a moon arch:
- 2 x 4’s
- Super Finish Max Sprayer
- Extra Super Finish Max paint containers
- Miter Saw
- Drill
- Circular saw
- Kreg Jig
- Sander
- 2 ½” pocket screws
- Measuring tape
- Dropcloths
- Water based stain, 2 cans
- Sander
- Eye protection
- Respirator
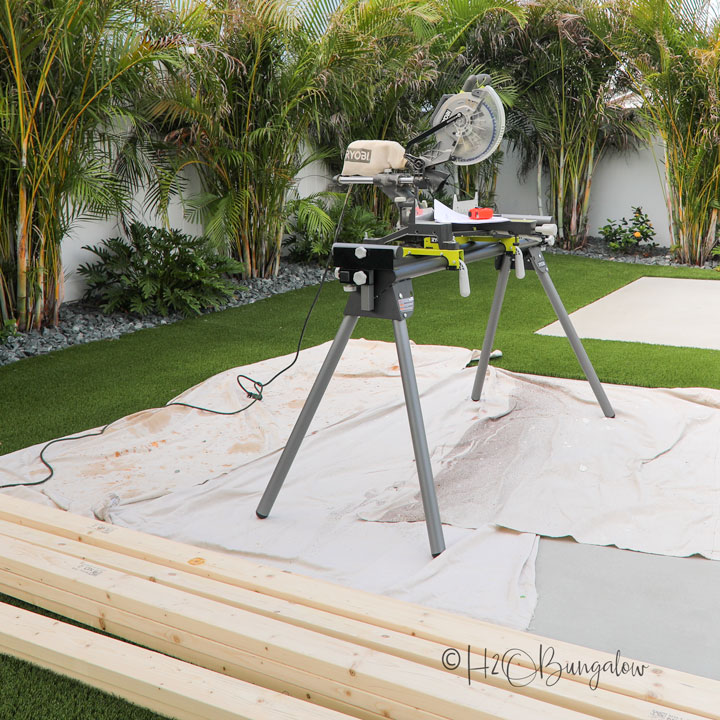
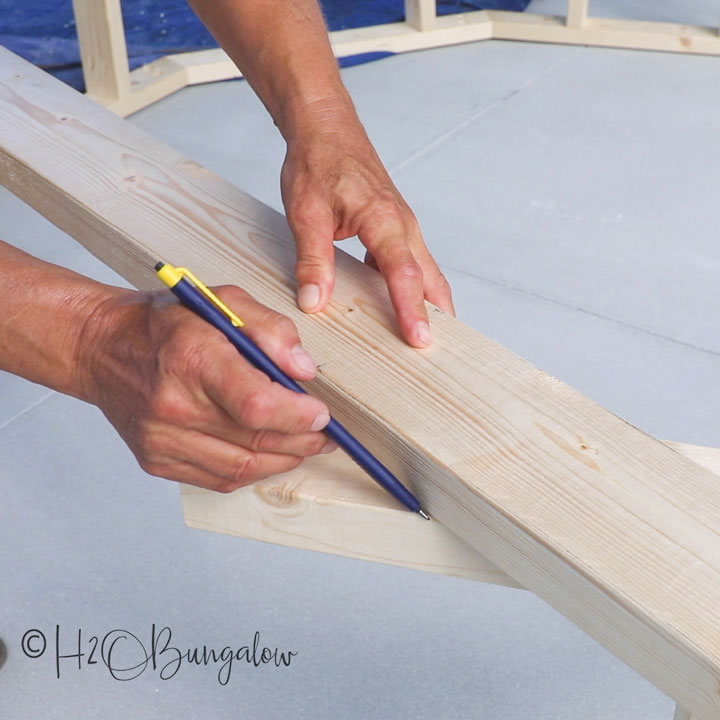
Step 1: Cut wood to size
Cut the 16 center supports, 14 frame segments and two legs
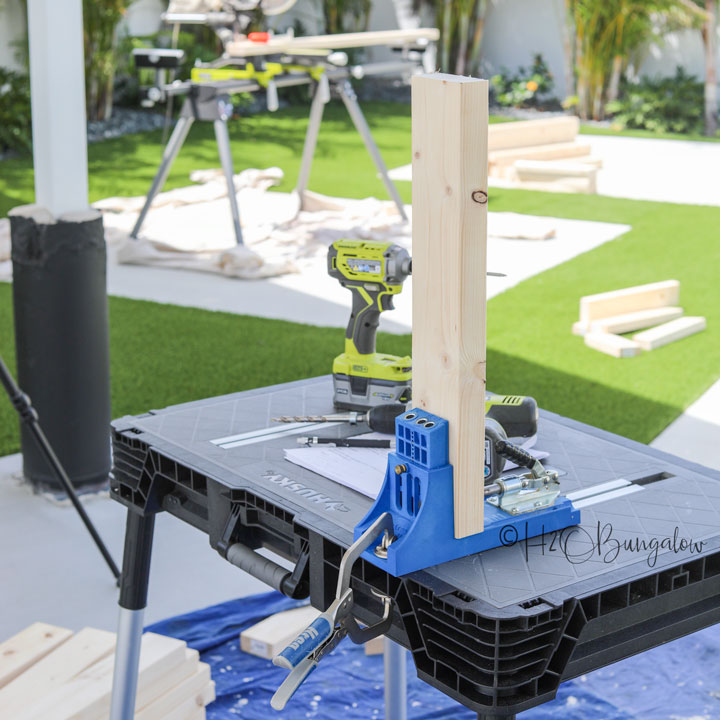
Step 2: Add Pocket Holes
Set the Kreg jig to 1 ½” material and drill the pocket holes next.
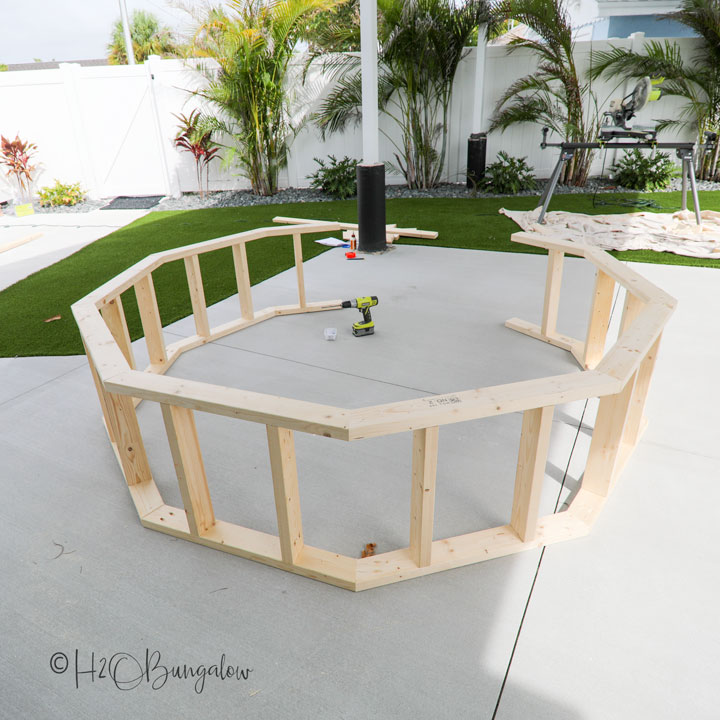
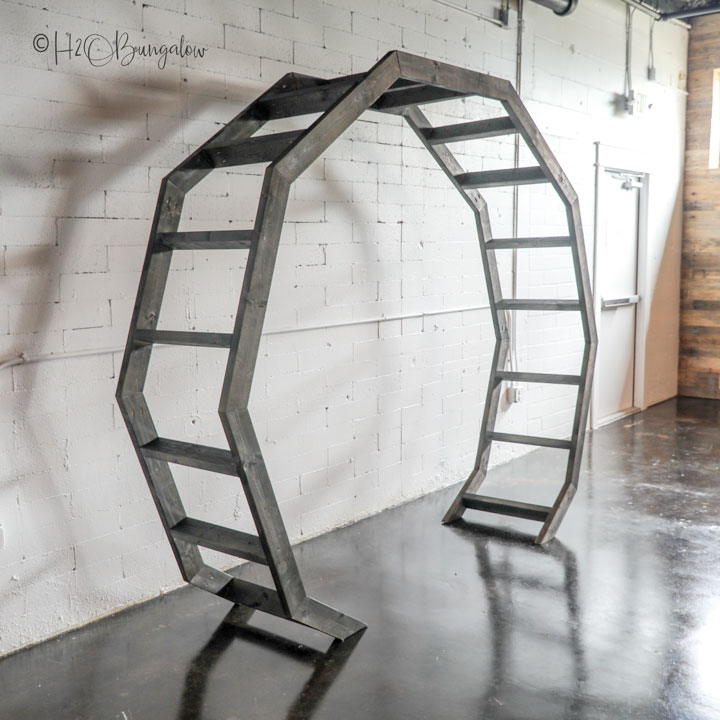
Step 3: Assemble the Moongate Wedding Arch
Use wood glue and assemble one side of the frame on a flat surface. Put that aside. Assemble the other side and add the center supports. Connect the two sides.
Step 4: Cut legs
Lay a board across the base of the moongate arch, mark and trim the legs.
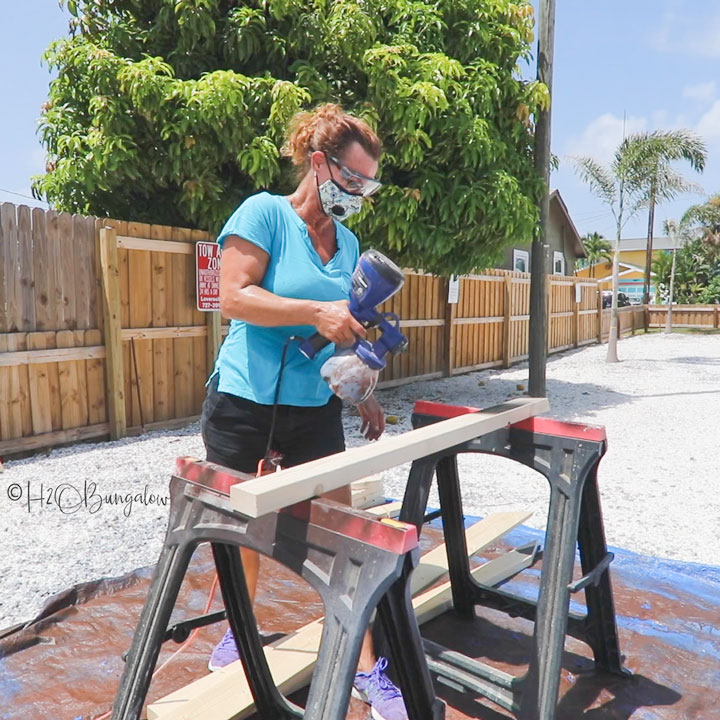
Step 5: Apply Stain With a Super Finish Max Paint Sprayer
Fill both the Super Finish Max paint container and the extra one with the water- based stain. Apply the stain on side, flip it over and apply the stain to the other side. Last, stand the moon gate up, look for spots that may need more color or were missed and spray if needed.
Step 6: Put aside to dry
Let the moon gate sit for 48 hours to allow the stain to dry.
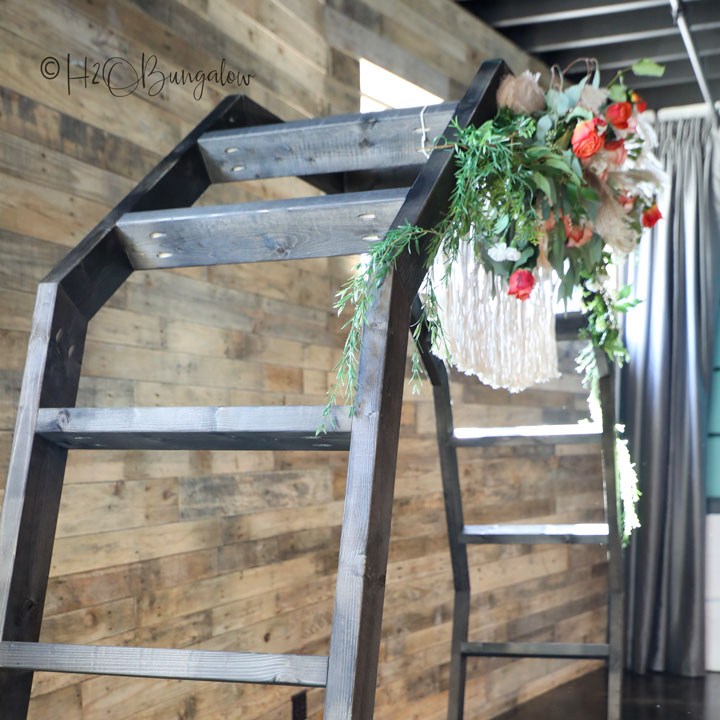
Step 7: Enjoy!
Remember to always use two people to move the moongate once it’s been built.
Remember, you can download my free plans with detailed instructions here.
This sponsored project was created by H2O Bungalow. Looking for more ways to use your HomeRight products? You’ll find lots of different types of home decor and home improvement project tutorials using the HomeRight products on my website, H2OBungalow.com
Download project steps & shopping list
We'll never share your email with anyone else.