DIY Freestanding Stocking Lantern
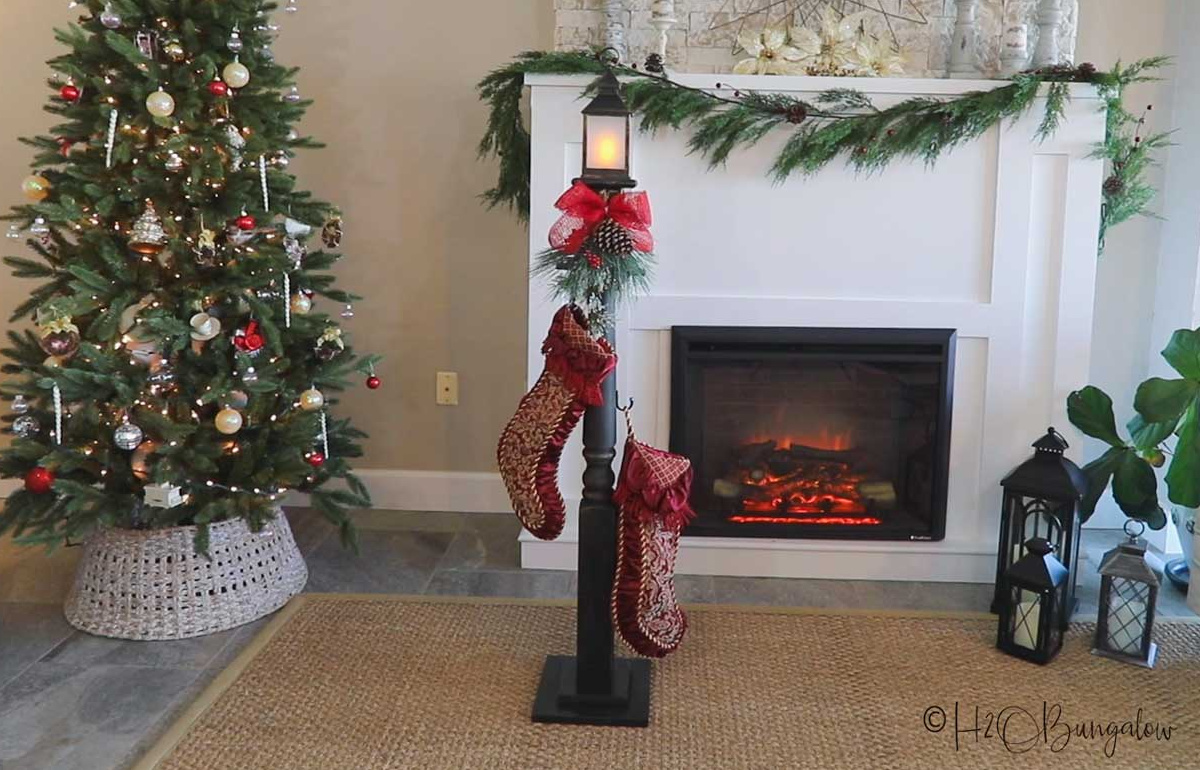
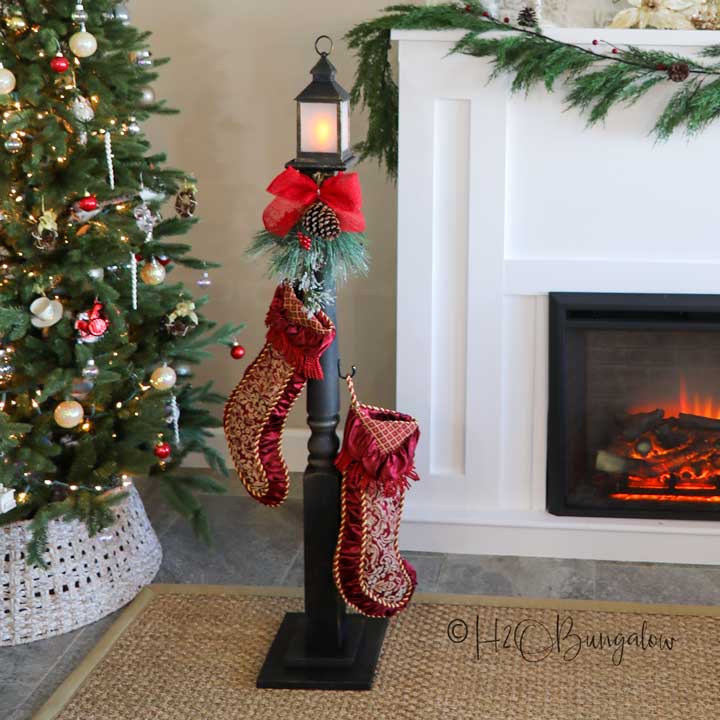
Create a freestanding Christmas stocking holder that looks like a vintage street lantern by following this step-by-step tutorial.
Today I’m sharing how to make a freestanding Christmas stocking holder that looks like a vintage street lantern. It looks so festive by the tree that you’ll want one even if you already have a fireplace mantle to hang your stockings! You can find links to my supplies and even more detail in the instructions in my own post on H2oBungalow.com.
Supplies:
- HomeRight Super Finish Max Paint Sprayer
- HomeRight Medium Spray Shelter
- Newel post or 4 x 4 post
- ¾” plywood, 10” square, 6” square
- ½”plywood, 4 ½ inch square
- 2 ft - 1” decorative trim molding
- Wood dowel 5/8”
- Miter saw
- Drill
- Brad nailer - Optional
- Spade bit, 5/8”
- Sand paper
- Black satin latex paint
- Solar lantern with flickering light
- Faux greenery spray
- Single hooks
- Screws 2-3”
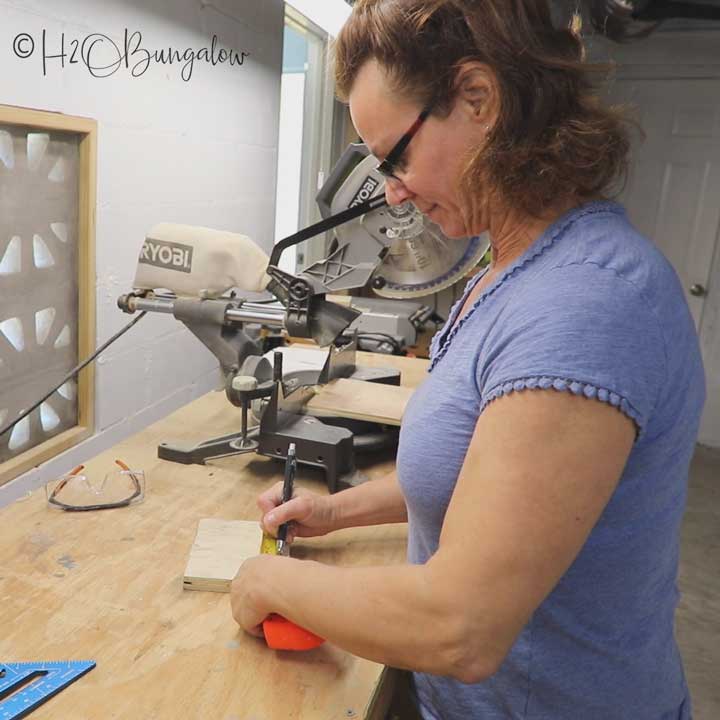
Step One: Cut Base and Top
Cut one 10 inch and 16 inch square from the ¾ inch plywood. Cut one 4 ½ inch square from the ½ inch plywood.
Next, Set your miter saw to 45 degree angle and cut the frame out of the 1 inch trim for the top platform.
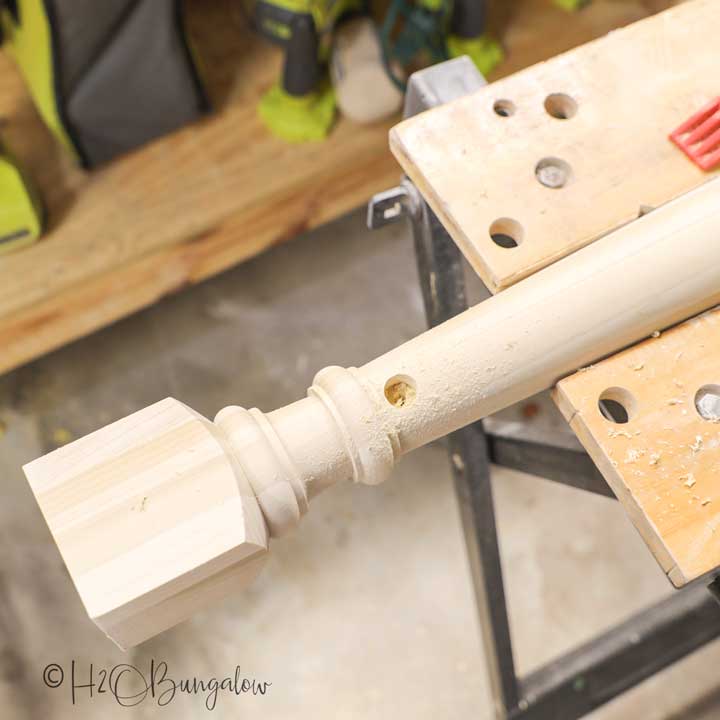
Step Two: Prepare the Post
Cut the top ball off of the newel post with a miter saw. If you are using a 4 x 4” post, cut it to the height you’d like your standing stocking holder. Next drill a 5/8” hole in the post all the way through near the top.
Cut the dowel to length to have about 3-4 inches sticking out on either side. Slide the dowel in and center it in into the stocking holder post.
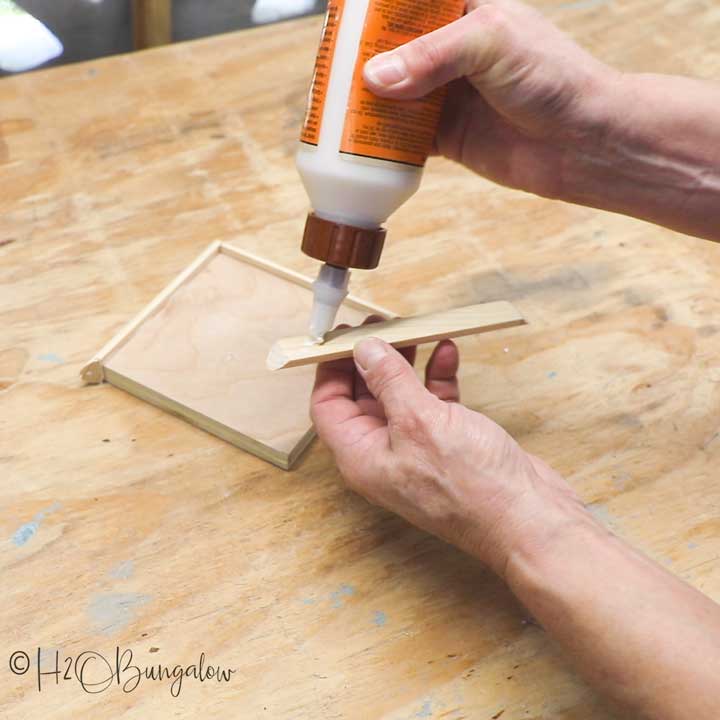
Step Three: Assemble the Top
Use wood glue and attach the 4 mitered trim pieces to the top platform edges. Rest it on a flat surface when positioning the trim so the trim will create a lip about ¼” high. This will hold the LED lantern in place.
Optional: When the glue is dry add a few ½’ brad nails around the trim to secure.
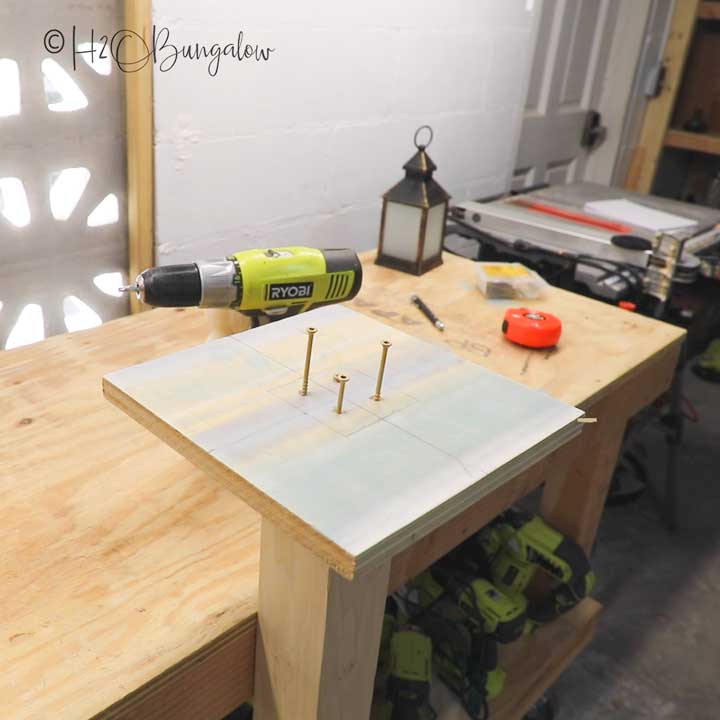
Step Four: Assemble the Base and Attach to Post
Center and glue the 6” square on to the 10” base. Allow it to dry, turn over and drill 4 countersink pilot holes in the center. Attach it to the newel post with 2 ½” screws.
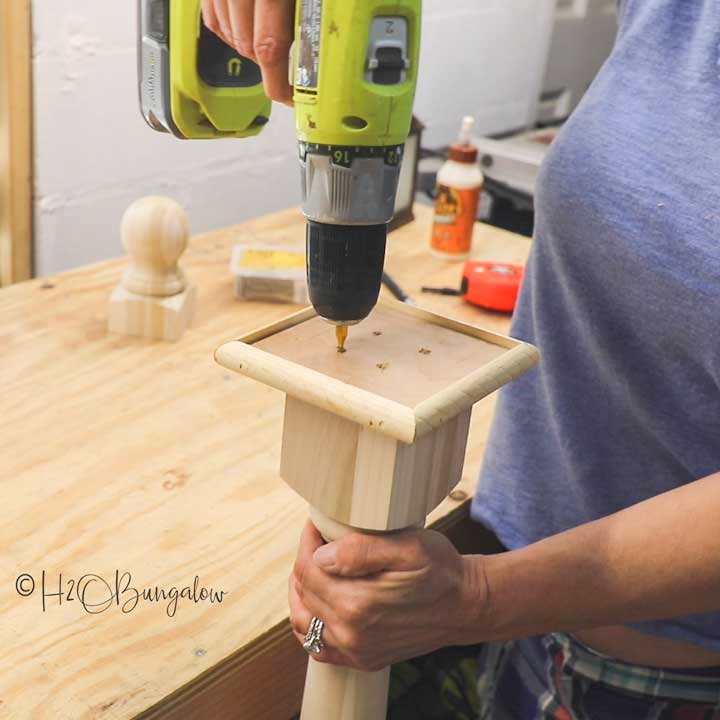
Step Five: Attach the Top to the Post
Center the top and attach with 2 ½” screws.
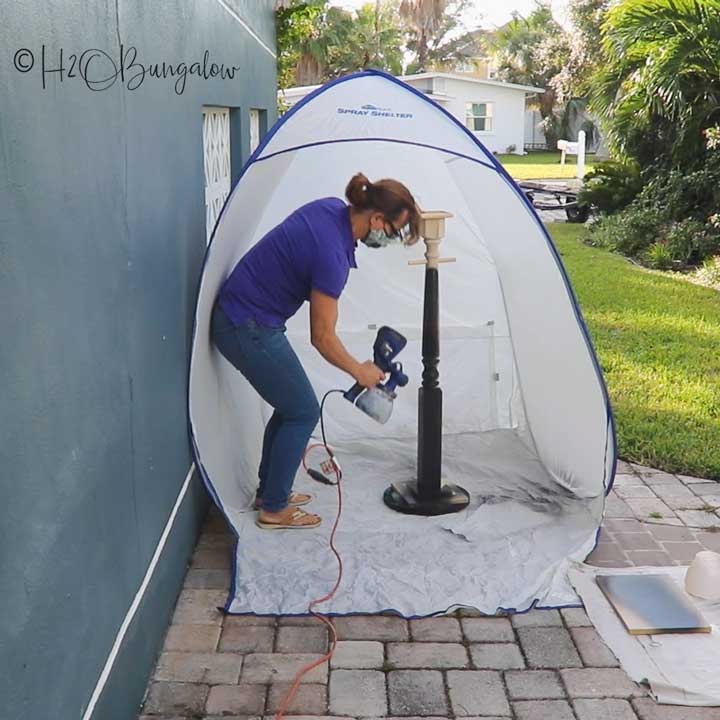
Step Six: Paint the Christmas Stocking Stand
I used my HomeRight Super Finish Max paint sprayer and with blue spray tip for this project. Because the paint was as thick as pudding, I thinned it down quite a bit with water until I had the consistency of chocolate milk.
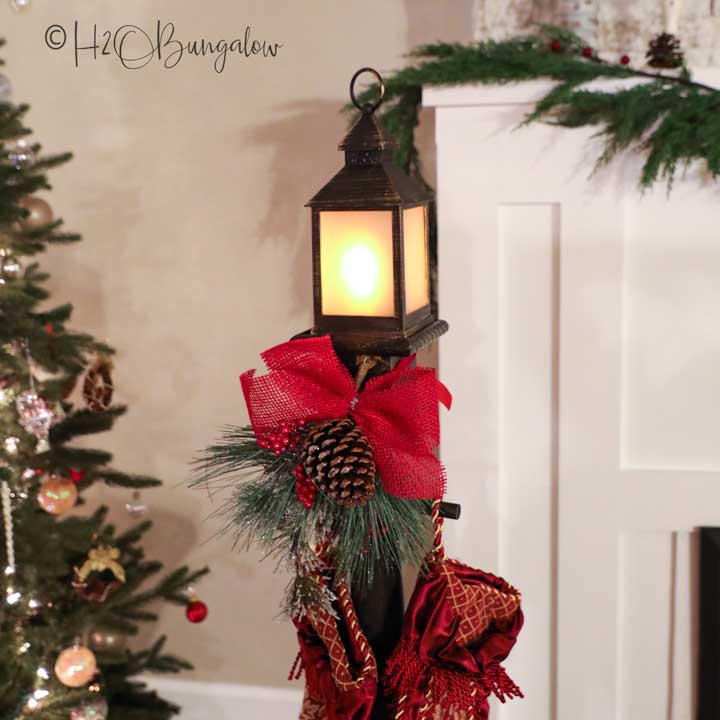
Step Seven: Add Hooks and Faux Greenery
Add a hook on each side of the post so the standing Christmas stocking holder will hold two more stockings. Last, tie a spray of faux greenery around the top and place the lantern on the platform.
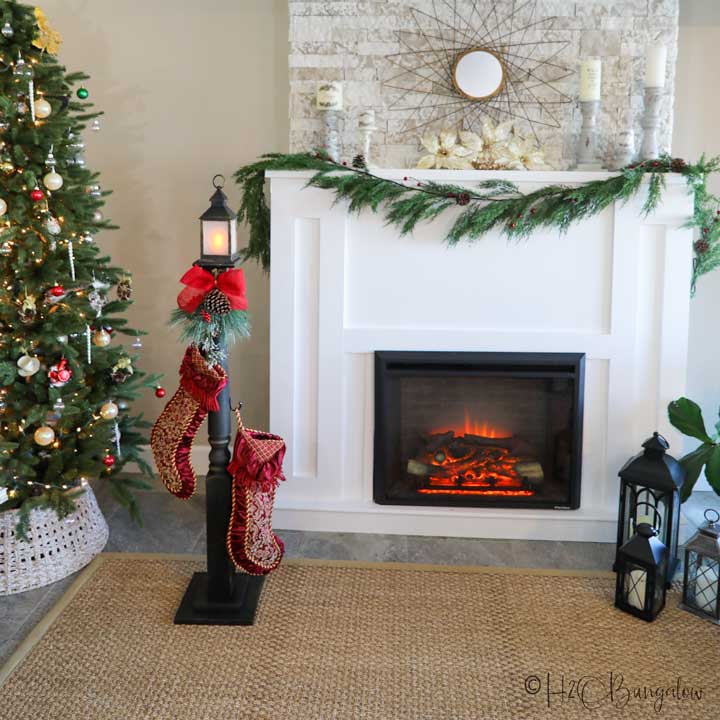
Step Eight: Enjoy!
I’m thrilled I was able to get out one more holiday decor project this season. My HomeRight Super Finish Max paint sprayer and paint shelter saved me a lot of time and made this possible.
Want more ways to use your HomeRight tools? Take a peek at the many projects I’ve created with my own HomeRight tools and products!
This sponsored project was created by H2O Bungalow. Head to the blog for the full post and details.
Download project steps & shopping list
We'll never share your email with anyone else.