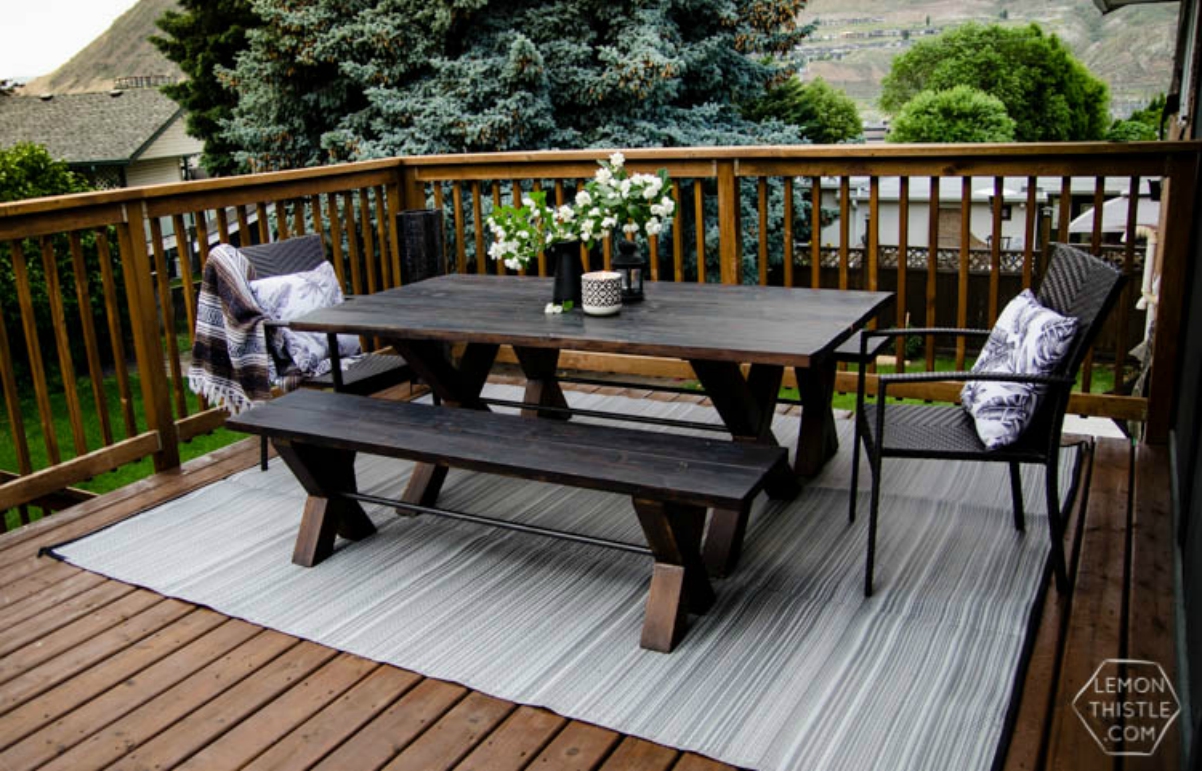
Stain a Deck Easily
Protect your deck before winter months by staining it with a HomeRight sprayer!
Materials Needed:
- Penetrating oil wood finish
- 12" Deck Pro Flat and Gap Stainer
- 12" Deck Pro Flat and Gap Stainer Replacement Pads
- Broom handle to extend reach
- Basin for stain
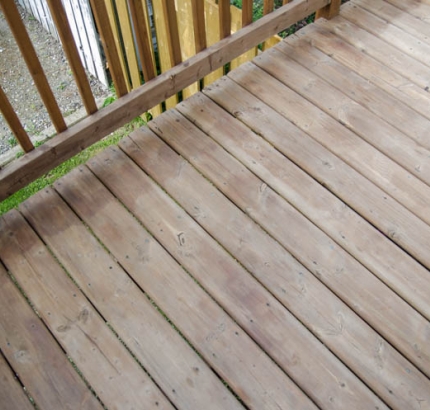
BEFORE:
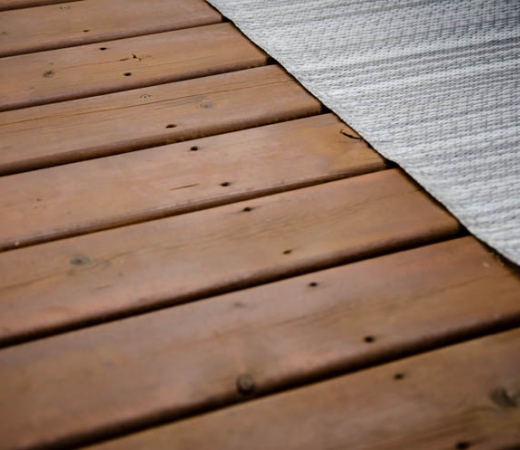
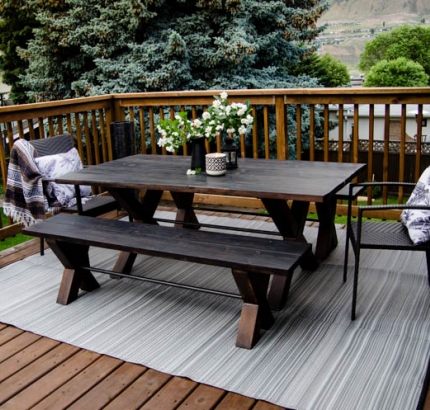
AFTER:
Project Steps
Protecting a deck and applying stain can be a dreaded task. Lemon Thistle shows you how to make this project faster and easier with the help of the Deck Pro 12" Flat and Gap Stainer tool. Protecting your deck with a stain or sealer is important especially in desert like climates. This yearly task will hardly feel like a chore with the help of this staining tool.
STEP 1:
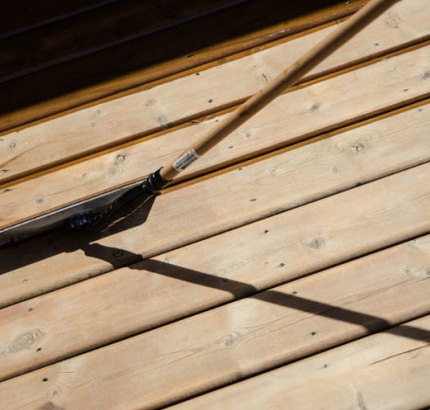
Select your stain or sealer that will work best with your deck and climate. It would be wise to check with a stain/paint expert at your local home improvement store, they usually have knowledge on what works best in your area. Once you have your material get your Deck Pro 12" Flat and Gap Stainer ready by connecting it to a broom handle and pouring your stain into a wash basin (she got hers from the dollar store). Dip the edge of the stainer into the stain basin and then apply to the grooves between the boards.
STEP 2:
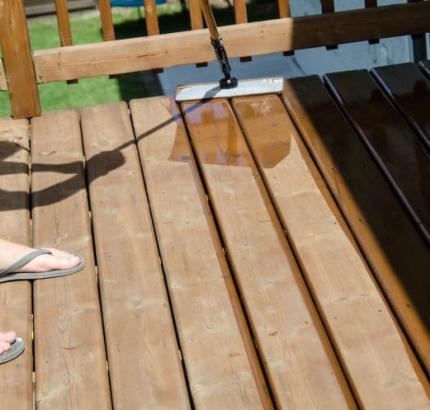
Once you have stained two rows of gaps, then flip the stainer flat, dip in the stain and apply it to the top of two boards at one time. For even coverage make sure you wipe away any excess stain or sealer.
Once the project is complete you can either clean the pads on the Deck Pro or you can toss them and purchase replacement pads.
STEP 3:
Check out Colleen's process by viewing the full post and details and see the reveal here.

Download project steps & shopping list
We'll never share your email with anyone else.